

#
Editing Animation Curves
While keyframes define the start and end points of an animation, the animation curve (or "interpolation curve") defines how a clip moves from the start to the end. You may have also heard this referred to as the amount of "easing".
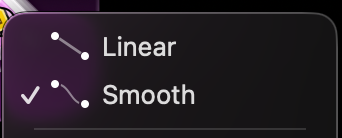
Final Cut gives you just two premade interpolation modes - "linear" or "smooth":
These two modes offer little customization, and not all parameters even support them both. For example, the scale parameter is limited to linear interpolation; you can't make it smooth at all!
#
Animation in Curves
Curves uses fully continuous sliders instead of rigid premade modes, giving you almost unlimited ways to customize your animations. Controlling the amount of easing is as simple as adjusting a slider:
Use the shape selector to pick from one of 7 curve shapes. Use the parameter settings to dial in the exact curve you want. Use the graph view to visualize how your animation will move over time.
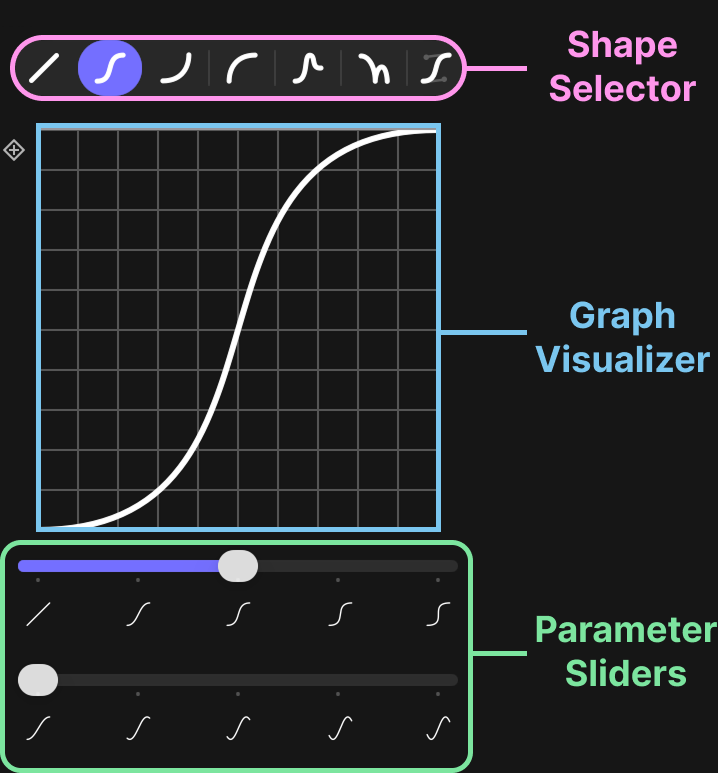
Shape Selector: Select between one of seven configurable curve shapes.
Graph Visualizer: Visualize the current curve.
Parameter Sliders: Adjust properties of the current curve.
#
What is a curve graph?
An interpolation curve defines the path from the start keyframe to the end keyframe. In Curves, we represent these with graphs. The bottom left of the graph represents the start keyframe, and the upper right represents the end keyframe.
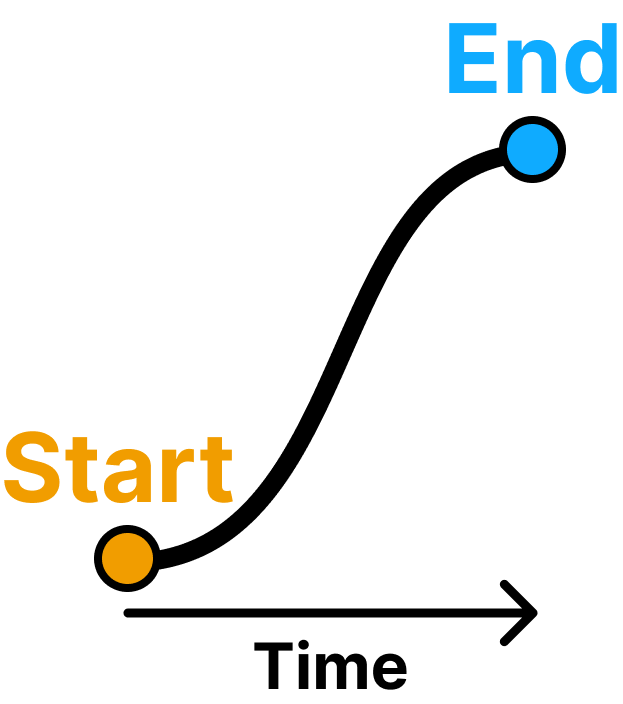
Time moves from left to right. As we move further along the curve, we get closer to the end position and further from the start position. At a given point in time, the height of the curve tells us how close we are to either point.
#
Curve Shapes
There are 7 curve shapes to select from, each with their own parameters.

