Moving Objects
Once Curves is applied to a clip, use the on-screen controls and inspector
settings to adjust its position, rotation, and scale. The on-screen controls
only appear if the Curves effect is selected, so make sure to select the Curves
effect in the effects tab of the inspector ( ). A yellow box will appear
around it.
). A yellow box will appear
around it.
A control (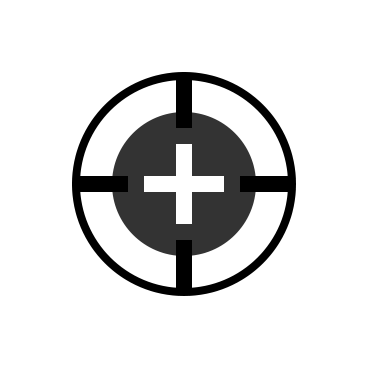 ) will appear
in the viewer over the center of your clip. Click and drag it to move your
object around:
) will appear
in the viewer over the center of your clip. Click and drag it to move your
object around:
Curves tries its best to help you keep everything aligned in your scene by snapping your object to the center or lower/ upper thirds. When you add animations, Curves will snap to align with other keyframes as well. This helps keep your animations centered, fluid, and consistent.
However, it may be desirable to disable snapping in certain scenarios. Start dragging the object then hold down one of the following keys to configure the dragging behavior:
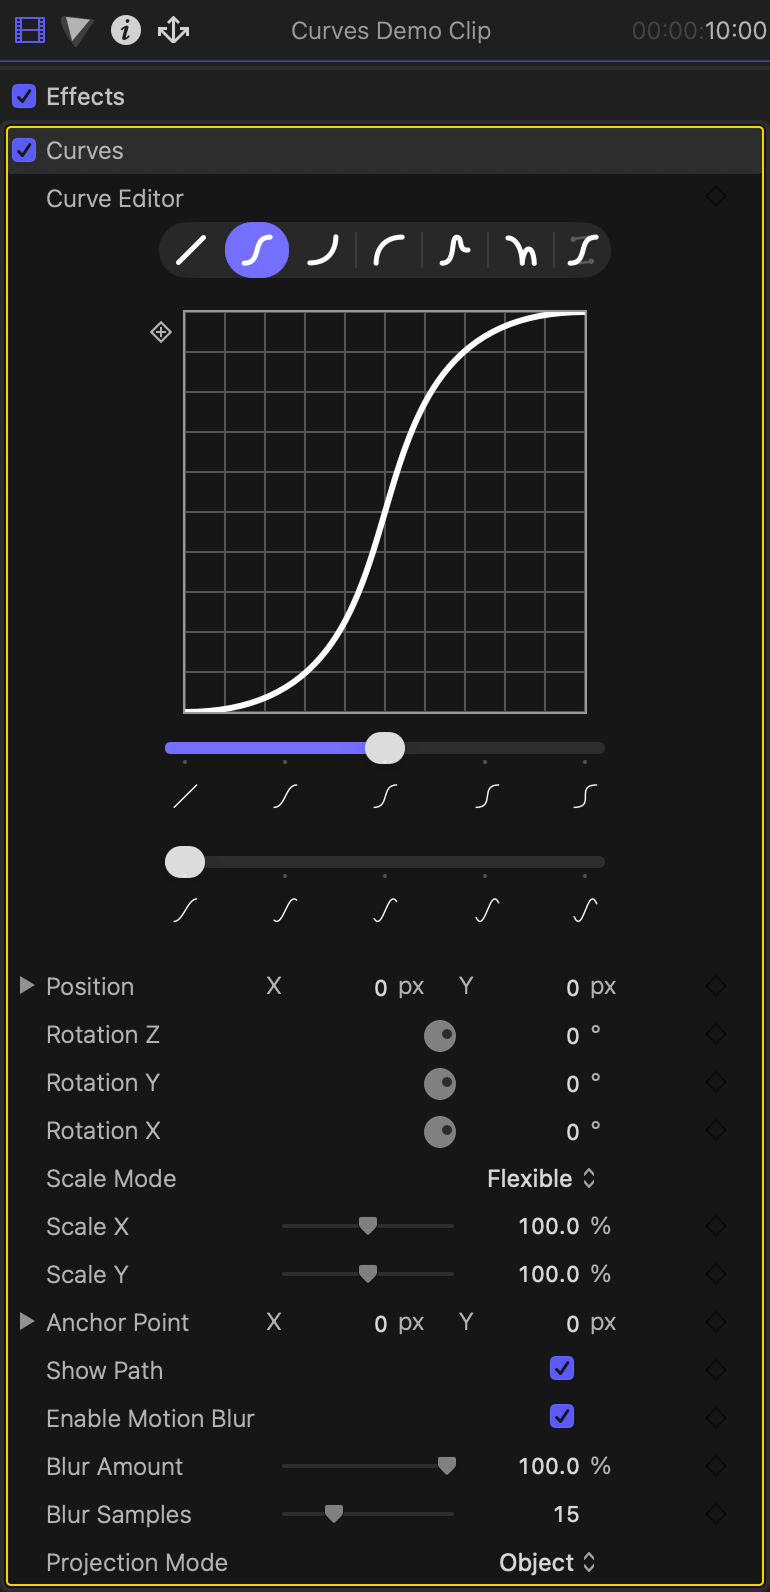
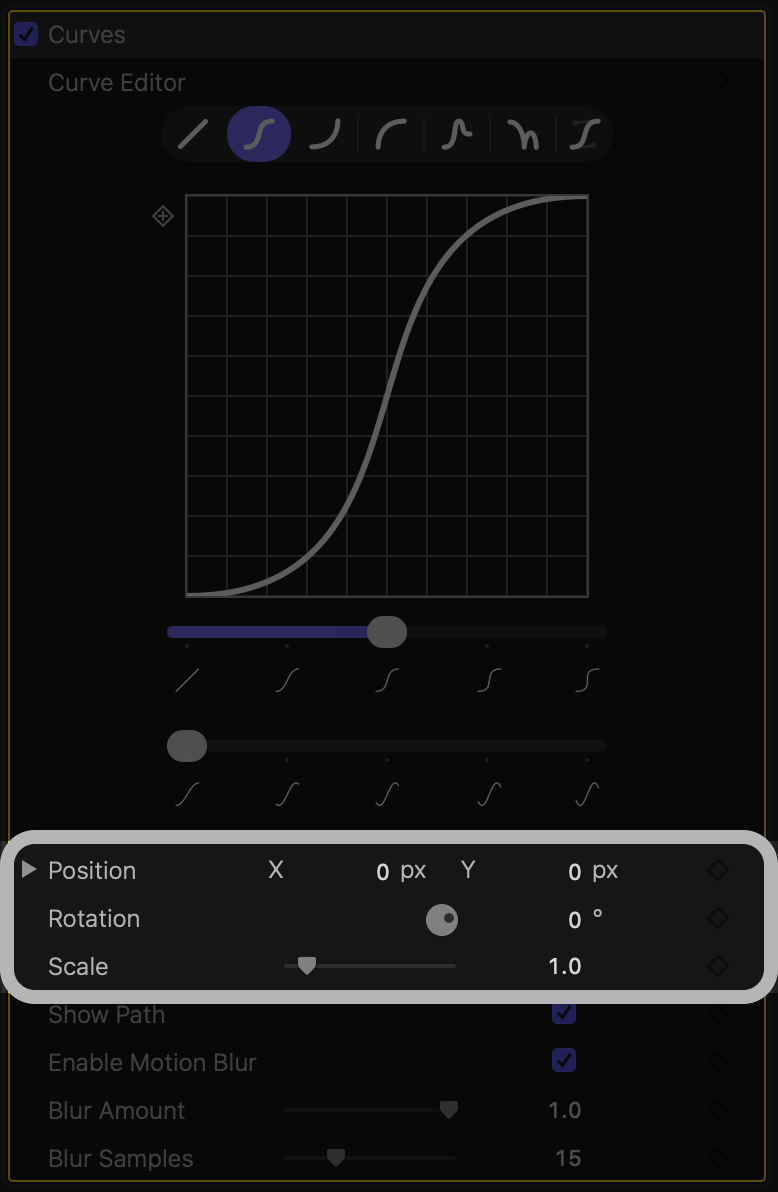
Using the Inspector
Position, rotation, scale, and the anchor point can be adjusted in the inspector under the Curves effect parameters.
Make sure when you're adjusting settings in the inspector that you are always using the settings from Curves, and not from the object's Transform:
The built-in Final Cut transform settings should be left at the defaults (X = 0, Y = 0, rotation = 0°, scale = 100%). If you modify position, rotation, or scale from both Curves and the Final Cut built-in Transform, things may get cut off or look weird.
Translation
You can adjust the position numerically using the inspector. Of course, you can also just click and drag the clip using the on-screen controls.
Rotation
Twist a rotation dial to spin the clip. You can rotate along the X, Y, or Z axes.
2D rotation is controlled by the Z axis.
Scaling
Use the scale slider to adjust the clip's size. Set the scale mode to "Flexible" to adjust X and Y scaling independently.
Anchor Point
The anchor point is where scale and rotation are applied from. You can think of it as the "center" of the object. If you hold the option key (⌥) and drag the control point, the clip will remain fixed in place, and the anchor point will move relative to it. Now, when you rotate or scale the object, the rotation/ scaling will start from this new anchor.
You can also adjust the anchor point in the inspector using the sliders:
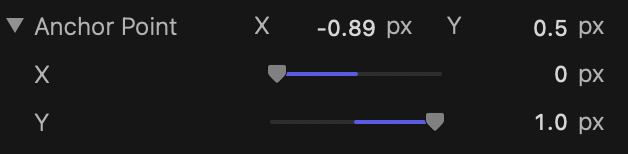
A slider value of 0 means "left" or "bottom", and 1 means "right" or "top".
Projection Mode
Use the Projection Mode setting to adjust how your 3D rotations are presented
in the world. Object projection keeps your object oriented the same way no
matter where it is in the scene. World projection projects your object into the
3D scene, so as you move it around, its orientation relative to the camera will
change. This setting has no effect if your X and Y rotations are set to 0.