

#
Adding Keyframes
Curves adds new features on top of Final Cut Pro's existing keyframe system, so
if you've worked with keyframes in Final Cut before, you will already be
familiar with the workflow. Use the add keyframe button ( ) to the right of a parameter to
add a keyframe at the current time:
) to the right of a parameter to
add a keyframe at the current time:
Then, move forward or backward in the timeline and move the clip to create an animation.
For example, to make an image spin, add a 0° rotation keyframe, move forward in the timeline, then set the rotation to 360°:
Use  and
and  to move between keyframes, and
  to delete a keyframe.
If a parameter has been keyframed, Final Cut automatically creates a new keyframe anytime you make a change.
#
Animating with the on-screen controls
You can create position keyframes just by dragging the clip around. Add a keyframe, move forward in time, then click and drag the object to a new position and a keyframe will be automatically created. Notice how Curves draws a red line showing the path of your clip.
Curves will automatically create an on-screen graph showing the path your
clip takes over time. Keyframes are represented with dots ( ) on the graph. You can add as many
keyframes as you want to a clip:
) on the graph. You can add as many
keyframes as you want to a clip:
Click on a keyframe to move to it in the timeline:
As you're creating a new keyframe, Curves will automatically snap your cursor to align with existing keyframes (past and future), keeping everything nice and lined up:
Of course, you can add new keyframes anywhere, including between an existing path. Just click and drag. Curves keeps the graph updated in real-time.
You can combine position, rotation, and scale keyframes to create complex animations:
#
Editing keyframes
Select your clip in the timeline and press control (^) + V. This will open up the Final Cut keyframe editor.
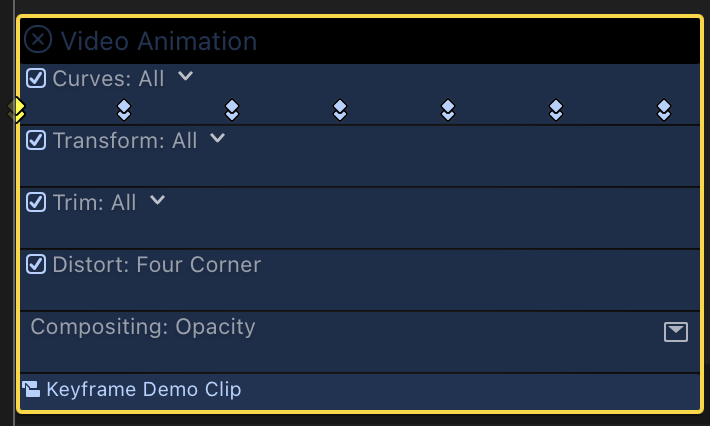
A marker is placed at every keyframe. You can click and drag a marker to adjust when the keyframe occurs. Use the drop down list next to "Curves: All" to configure which parameter's keyframes are shown.