Zoom & Pan
Curves can be used for creating dynamic zoom and pan animations with configurable easing and motion blur. Here's how to achieve this effect:
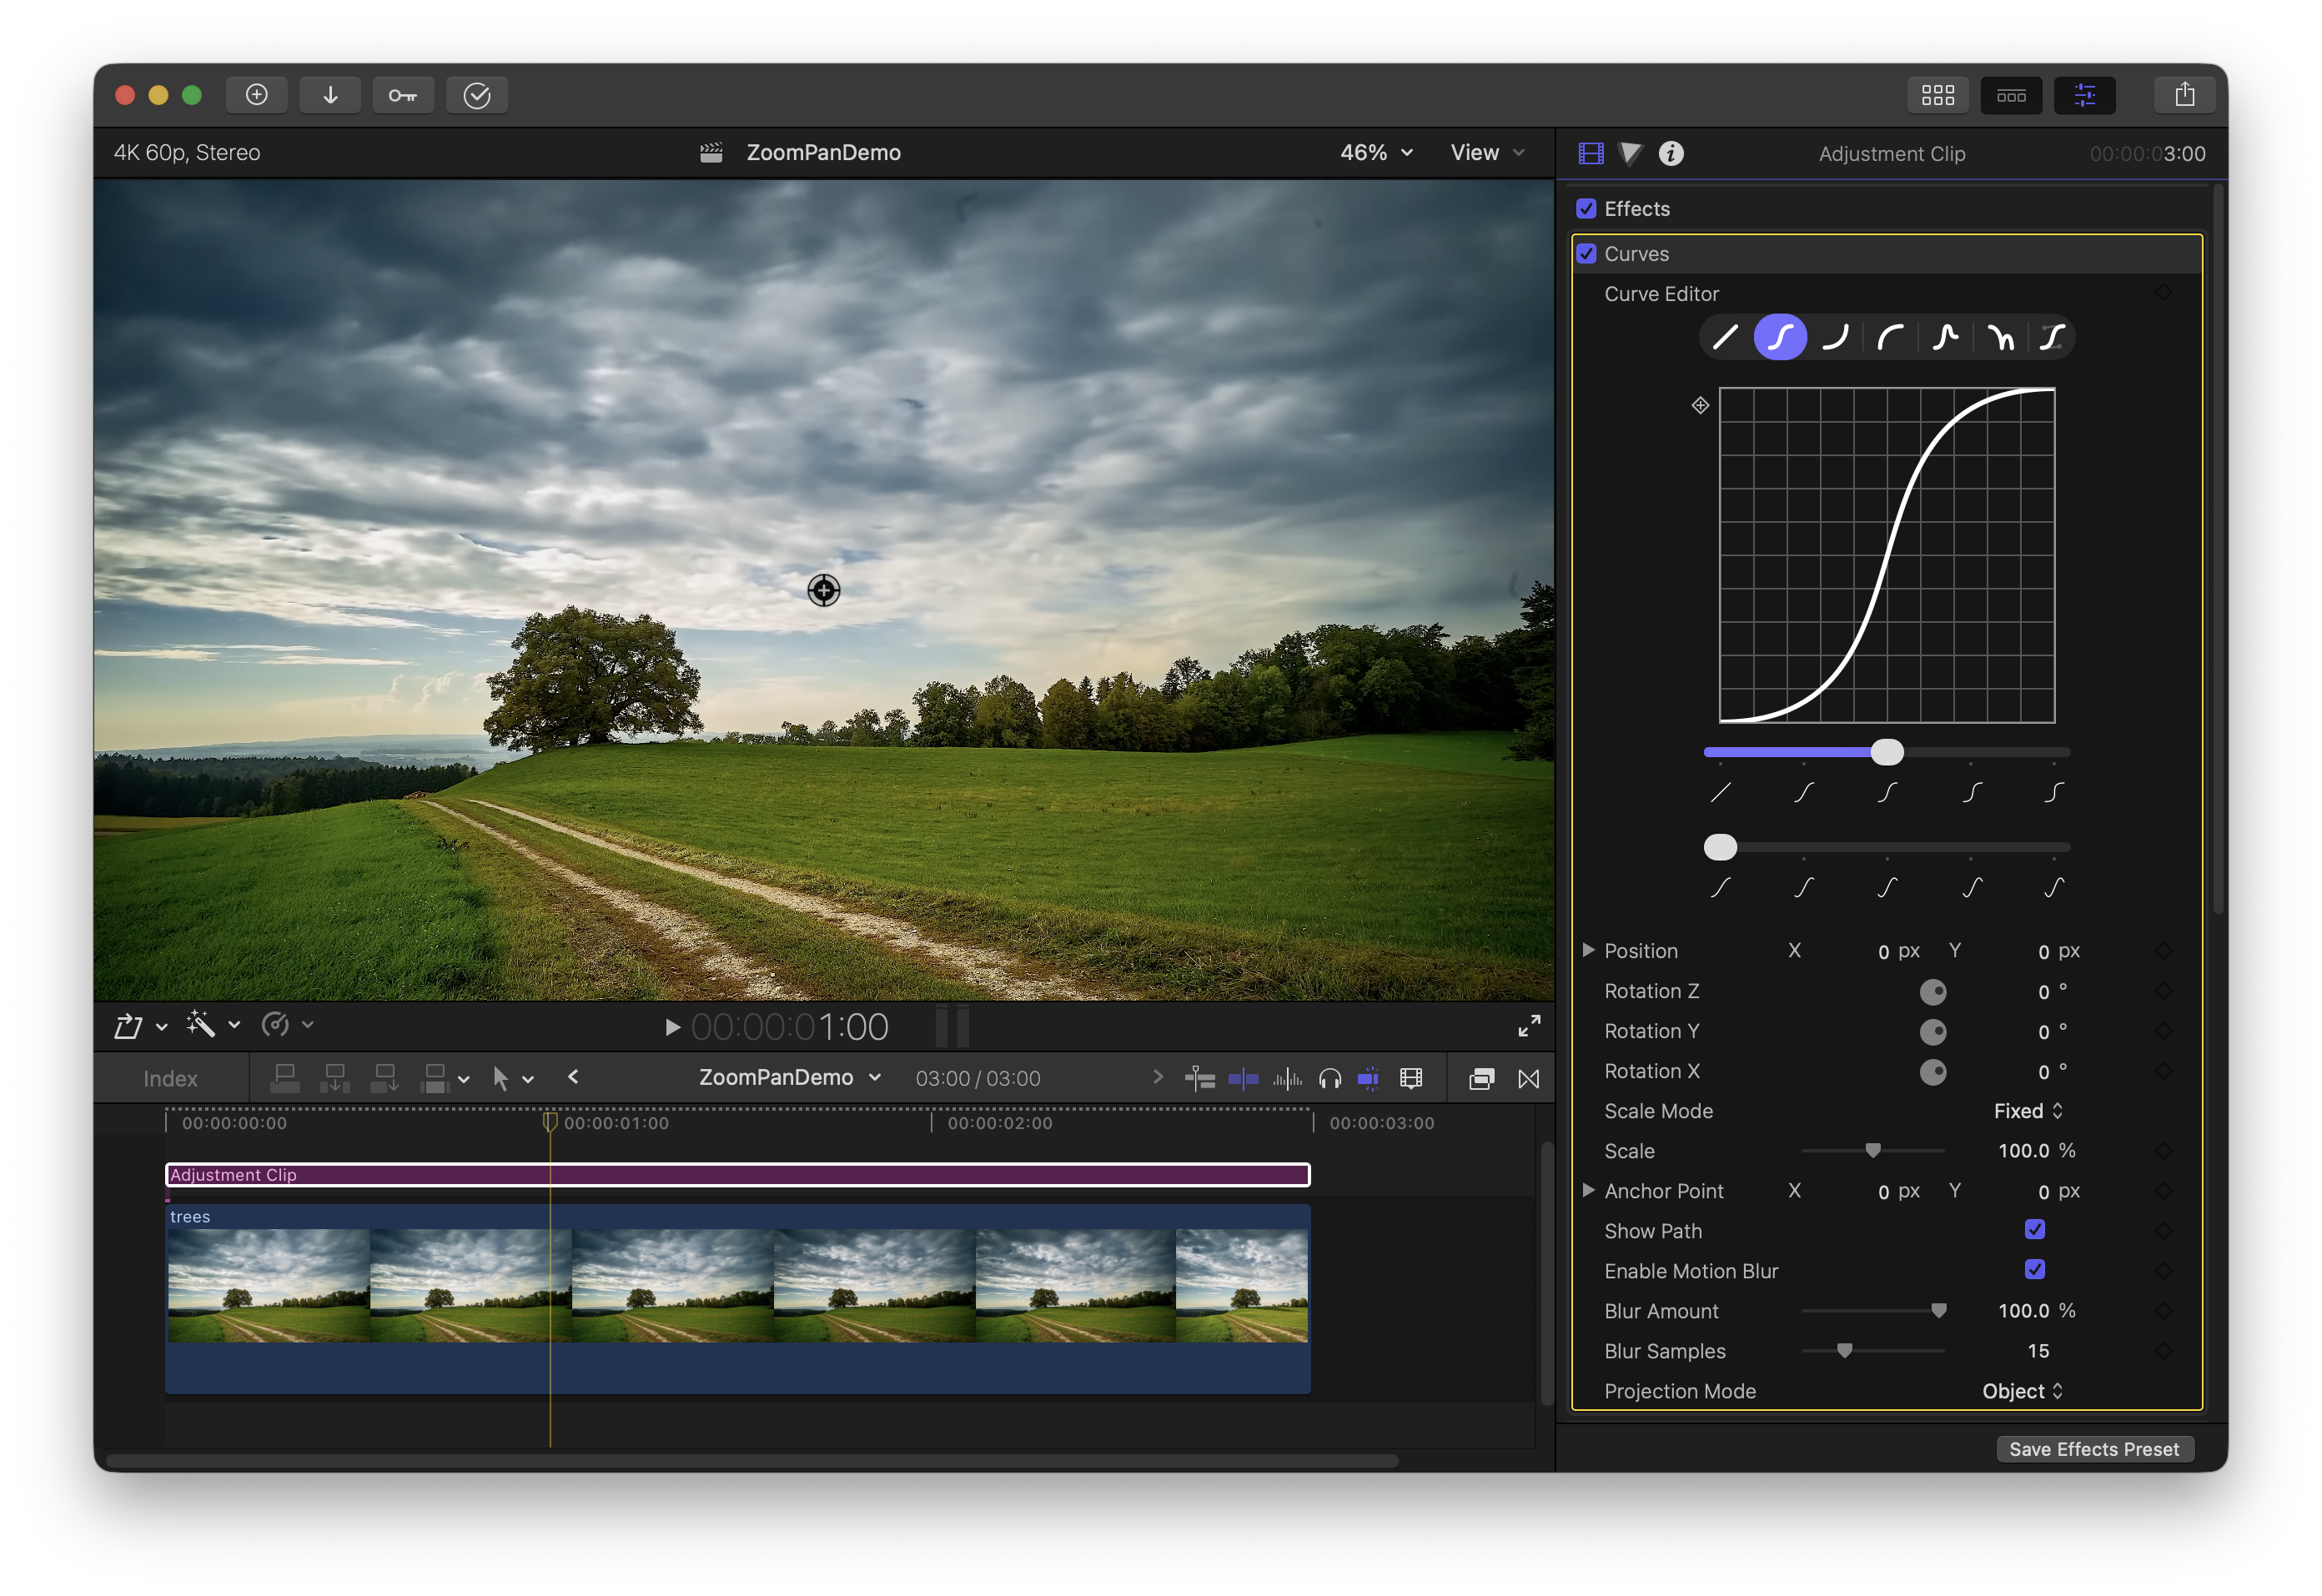
Use Option (⌥) + A to add an Adjustment Clip on top of your clip, and apply Curves to it.
Applying Curves to an adjustment clip (instead of directly to the clip) gives you more flexibility in editing. You can add cuts, add more clips on top of the timeline, or switch out the clip without changing your zoom and pan animations.
You can zoom in by increasing the scale, and pan by animating the position. Use the on-screen controls to quickly adjust the pan and visualize the camera path over time.
Add more zooms and pans with more keyframes on the same clip. No need to cut and re-apply the effect.
Curves will automatically snap to previous keyframes, keeping your pans fluid and aligned. See Adding Keyframes for help with keyframes.
Jump to a specific point by clicking on the keyframes in the viewport.
Use the curve editor to change the amount of easing applied to your zooms and pans.