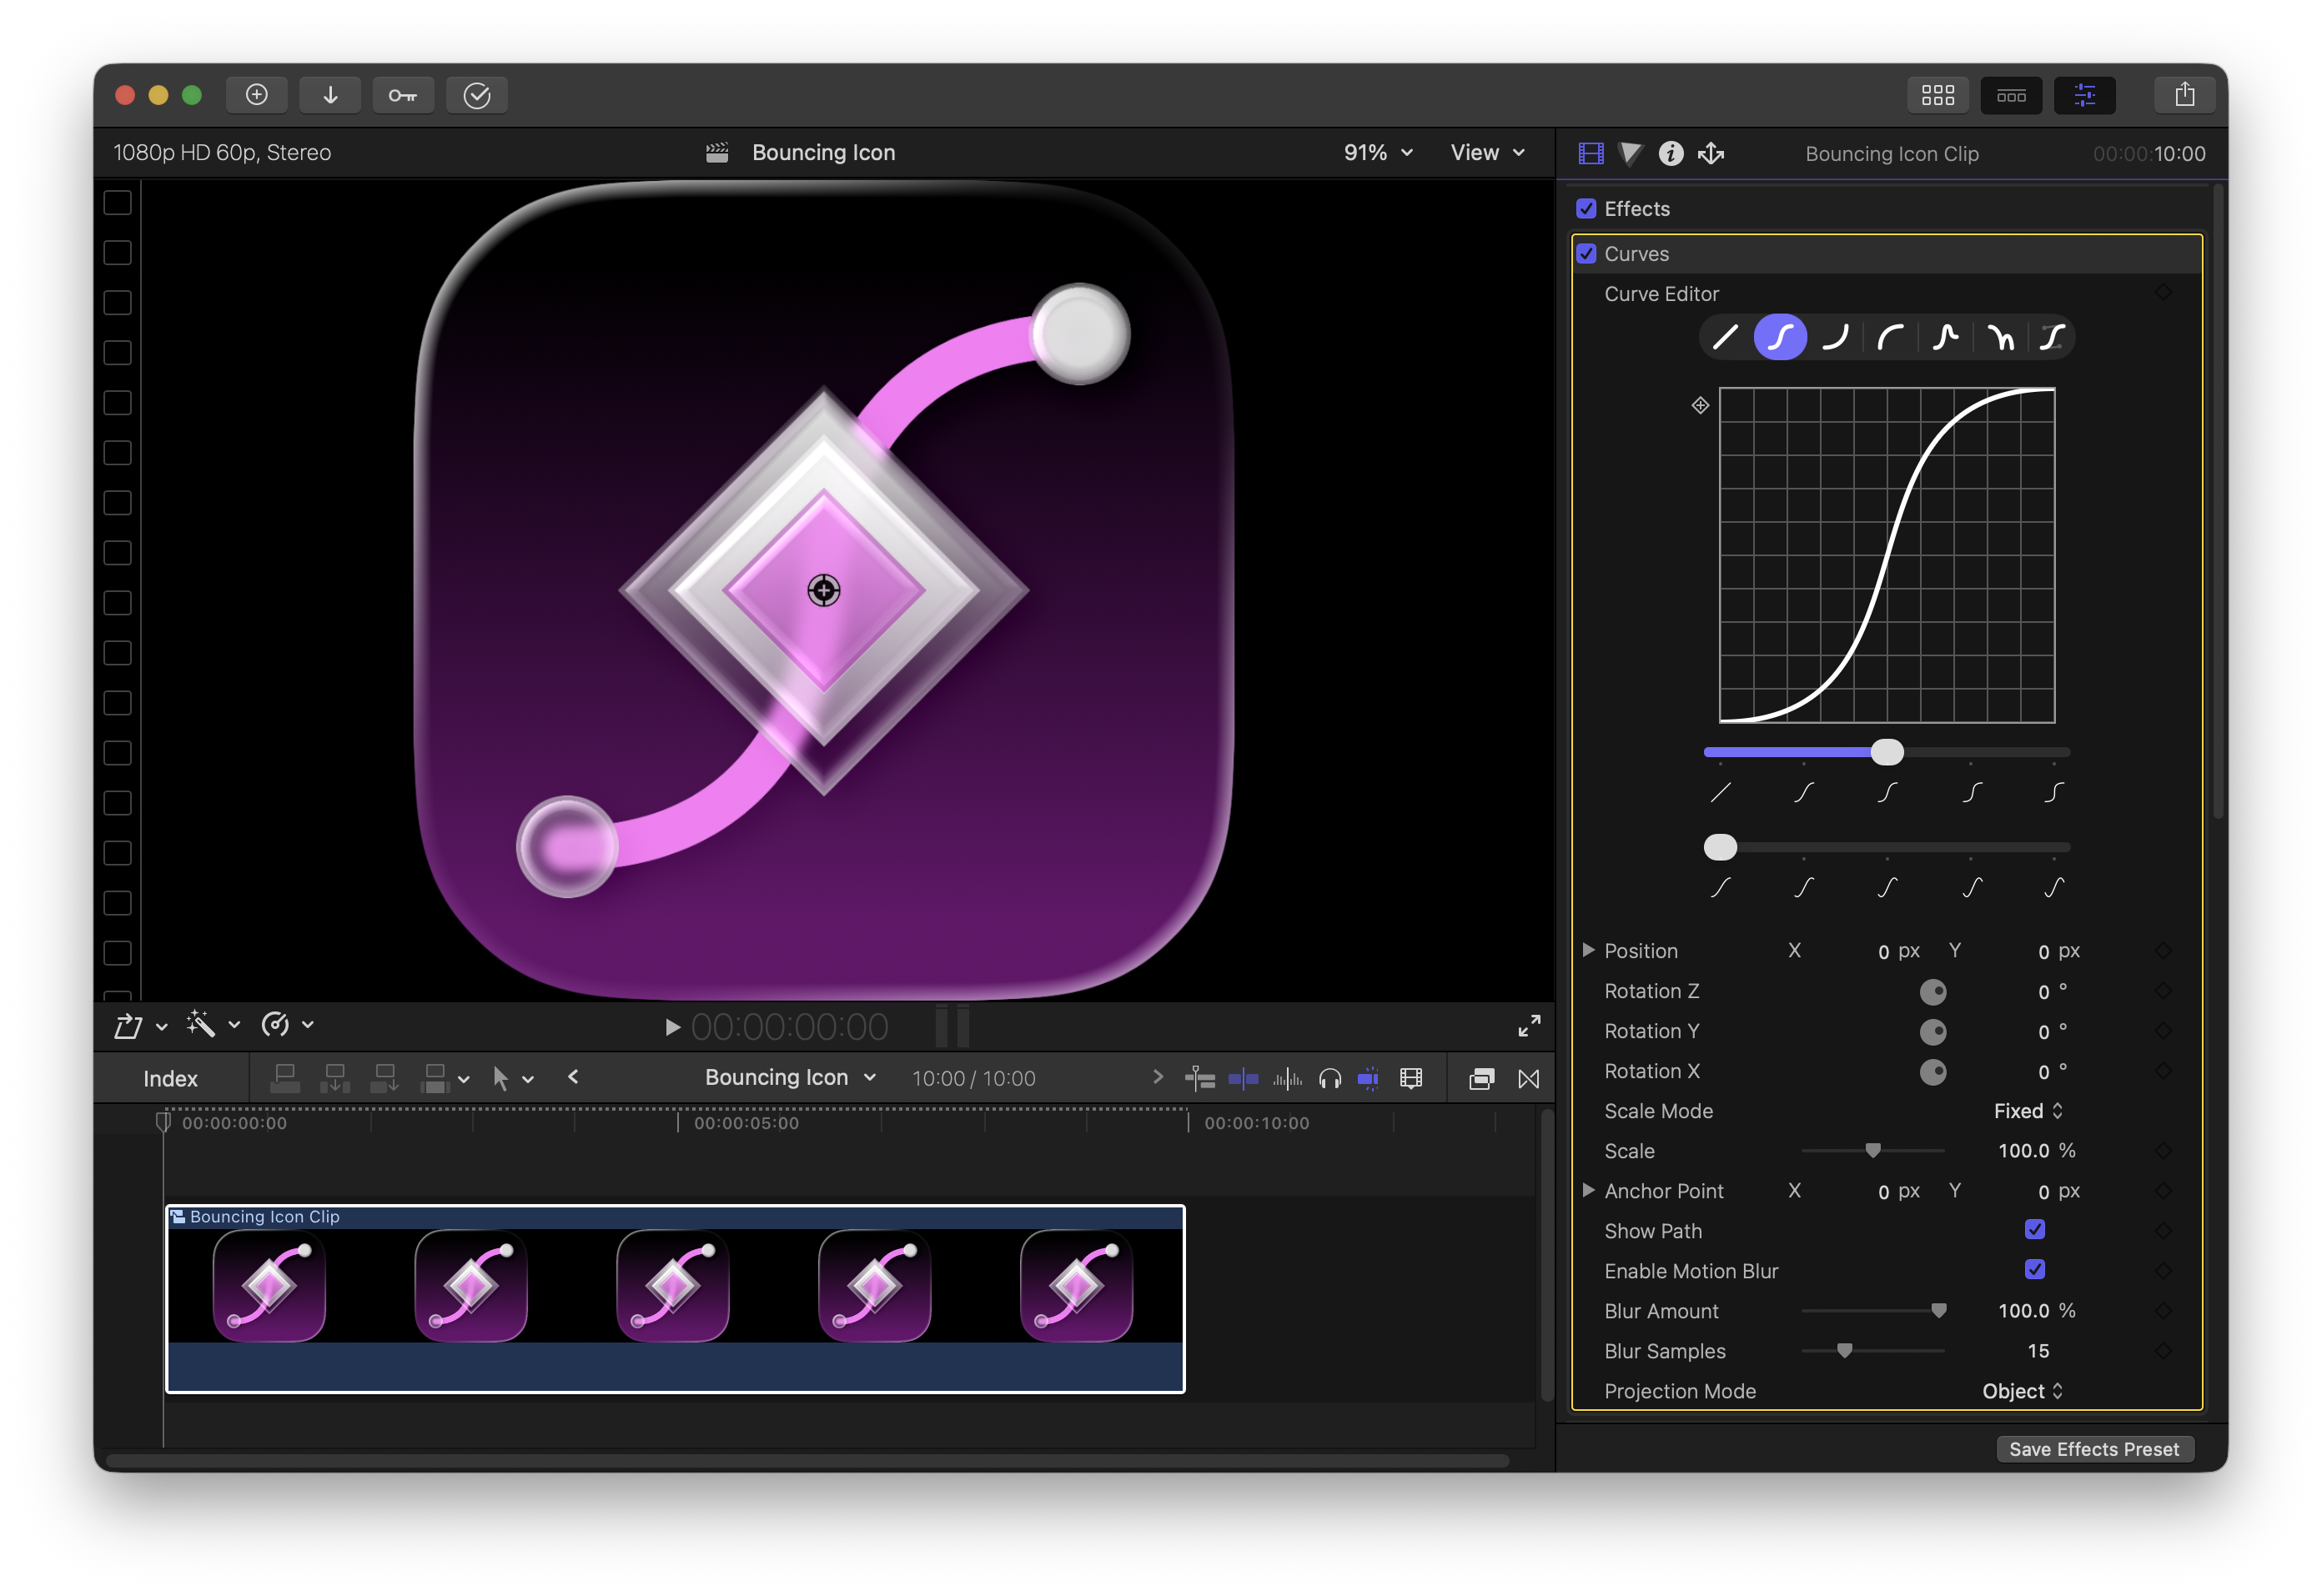
Bouncing Icon
In this tutorial, we'll use Curves to animate an icon bouncing around the screen. We'll keyframe the following motion paths:
- The icon will pop in using an overshoot curve.
- The icon will fall to the ground using a bounce curve.
- The icon will spin and fly to the upper right of the screen using a smooth curve.
- The icon will swipe out of the scene using a backed-in accelerate curve.
Curves can apply all of these dynamic animations to a single clip using just one effect- no cuts, no titles, no adjustment clips!
In this tutorial, you'll learn:
- How to animate position, rotation, and scale with Curves.
- How to configure the animation curve to get different effects.
- How to change the animation curve without cutting the clip and reapplying Curves.
Setup
Create a new Final Cut project and add an image to the timeline. You can download the exact image I'm using here if you want to follow along:

Right click on your image and turn it into a compound clip. We need to do this because the image (1024x1024) is smaller than the project dimensions (1920x1080) (see Getting Started for more about compound clips).
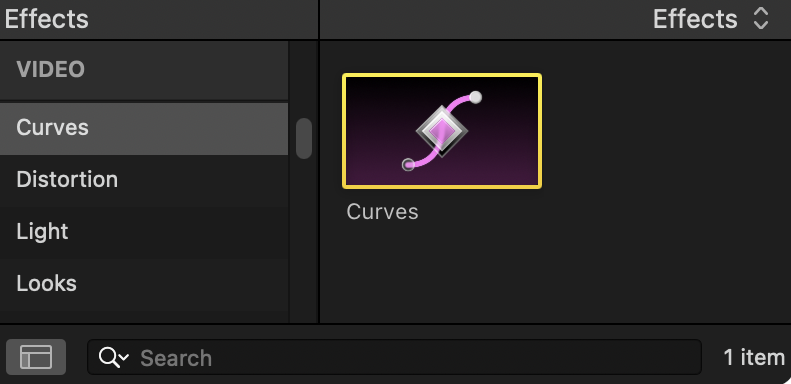
You can find the Curves effect in the effects browser under the "Curves" group. If you don't see it, make sure you installed the Curves effect from the app (see Installation).
Add the Curves effect to your image clip:
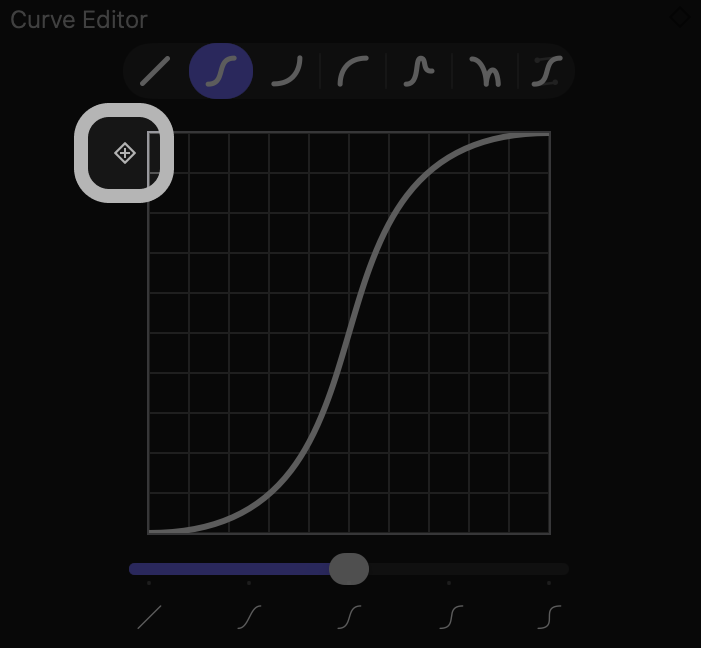
You should see a control point ( ) appear over the image:
If you don't see the control point, click on the Curves effect in the inspector and it should appear.
Pop In
Now that we're set up, we can add our first keyframe!
Move the playhead to the start of the clip, click the "Add keyframe" button to
the right of the scale slider ( ), and set the scale in the Curves
effect to 0%.
), and set the scale in the Curves
effect to 0%.
Your scale settings should look like this:

Make sure to adjust the scale slider inside the Curves effect, and not the built-in "Transform". See Moving Objects for more info on adjusting the scale, and Adding Keyframes for help with keyframes.
Now, move the playhead forward a bit, and slide the scale up to 35%. A new keyframe will be automatically created since at least one scale keyframe already exists.
If you play back the project, you'll see the clip smoothly grow:
While the default curve looks great, what if the animation had more "springiness"?
In the Curve Editor at the top of the Curves plugin, switch the mode from Smooth to Overshoot, and increase the oscillation frequency (the first slider):
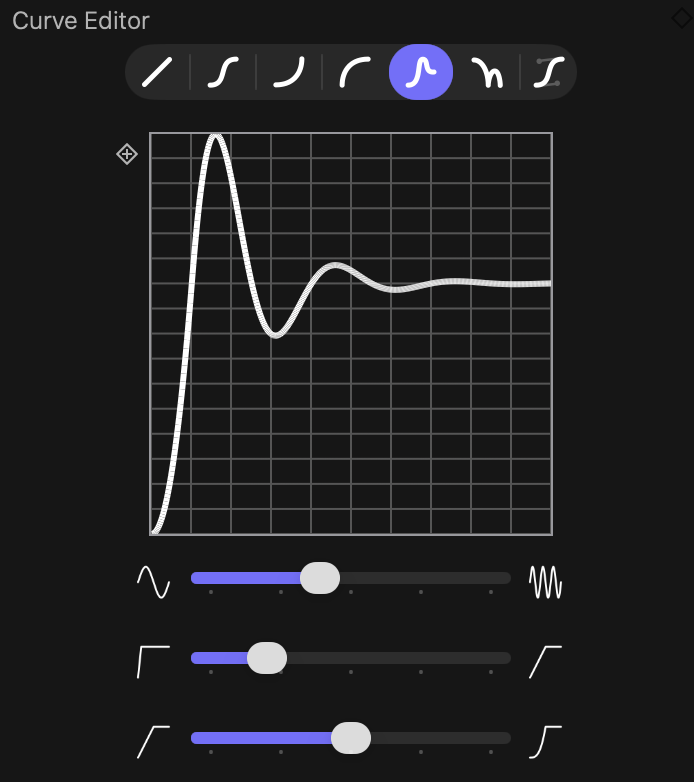
Now, instead of smoothly growing, we overshoot and oscillate, giving a dynamic pop effect:
You've successfully created your first animation with Curves!
Notice how by simply switching the animation mode and adjusting one slider the feeling of the animation completely changed. Feel free to play around with the various modes and sliders to get a feel for how they work.
Fall Down
The second motion we want is to make the logo fall to the bottom of the scene and bounce when it hits the ground.
Since we're going to be working with lots of keyframes, it will be helpful to have the Final Cut Video Animation Editor open. Select your image clip in the timeline, then press Control + V to open it.
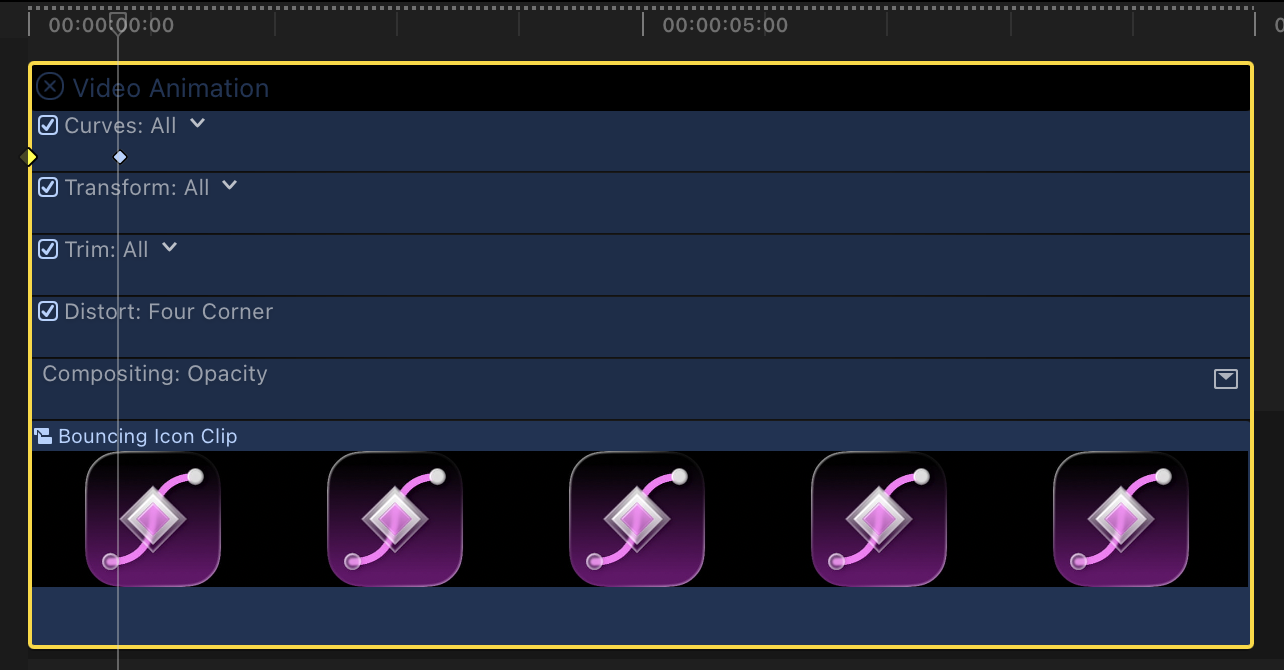
Each keyframe is represented by a diamond (). We can see two diamonds representing the two scale keyframes we've added.
You can manually use the timeline scrubber to move between keyframes, but it can be tricky to line up the playhead exactly over a given keyframe. Instead, it's much easier to use Final Cut's keyframe navigation controls.
Use  or
or  to move exactly to the previous or next
keyframe. These controls appear next to any parameter you've keyframed with
Curves in the inspector.
to move exactly to the previous or next
keyframe. These controls appear next to any parameter you've keyframed with
Curves in the inspector.

See Adding Keyframes for more help with keyframes.
Use the keyframe navigation controls to move the timeline directly over the second keyframe.
You'll know if you are over a keyframe because the keyframe light will turn orange:

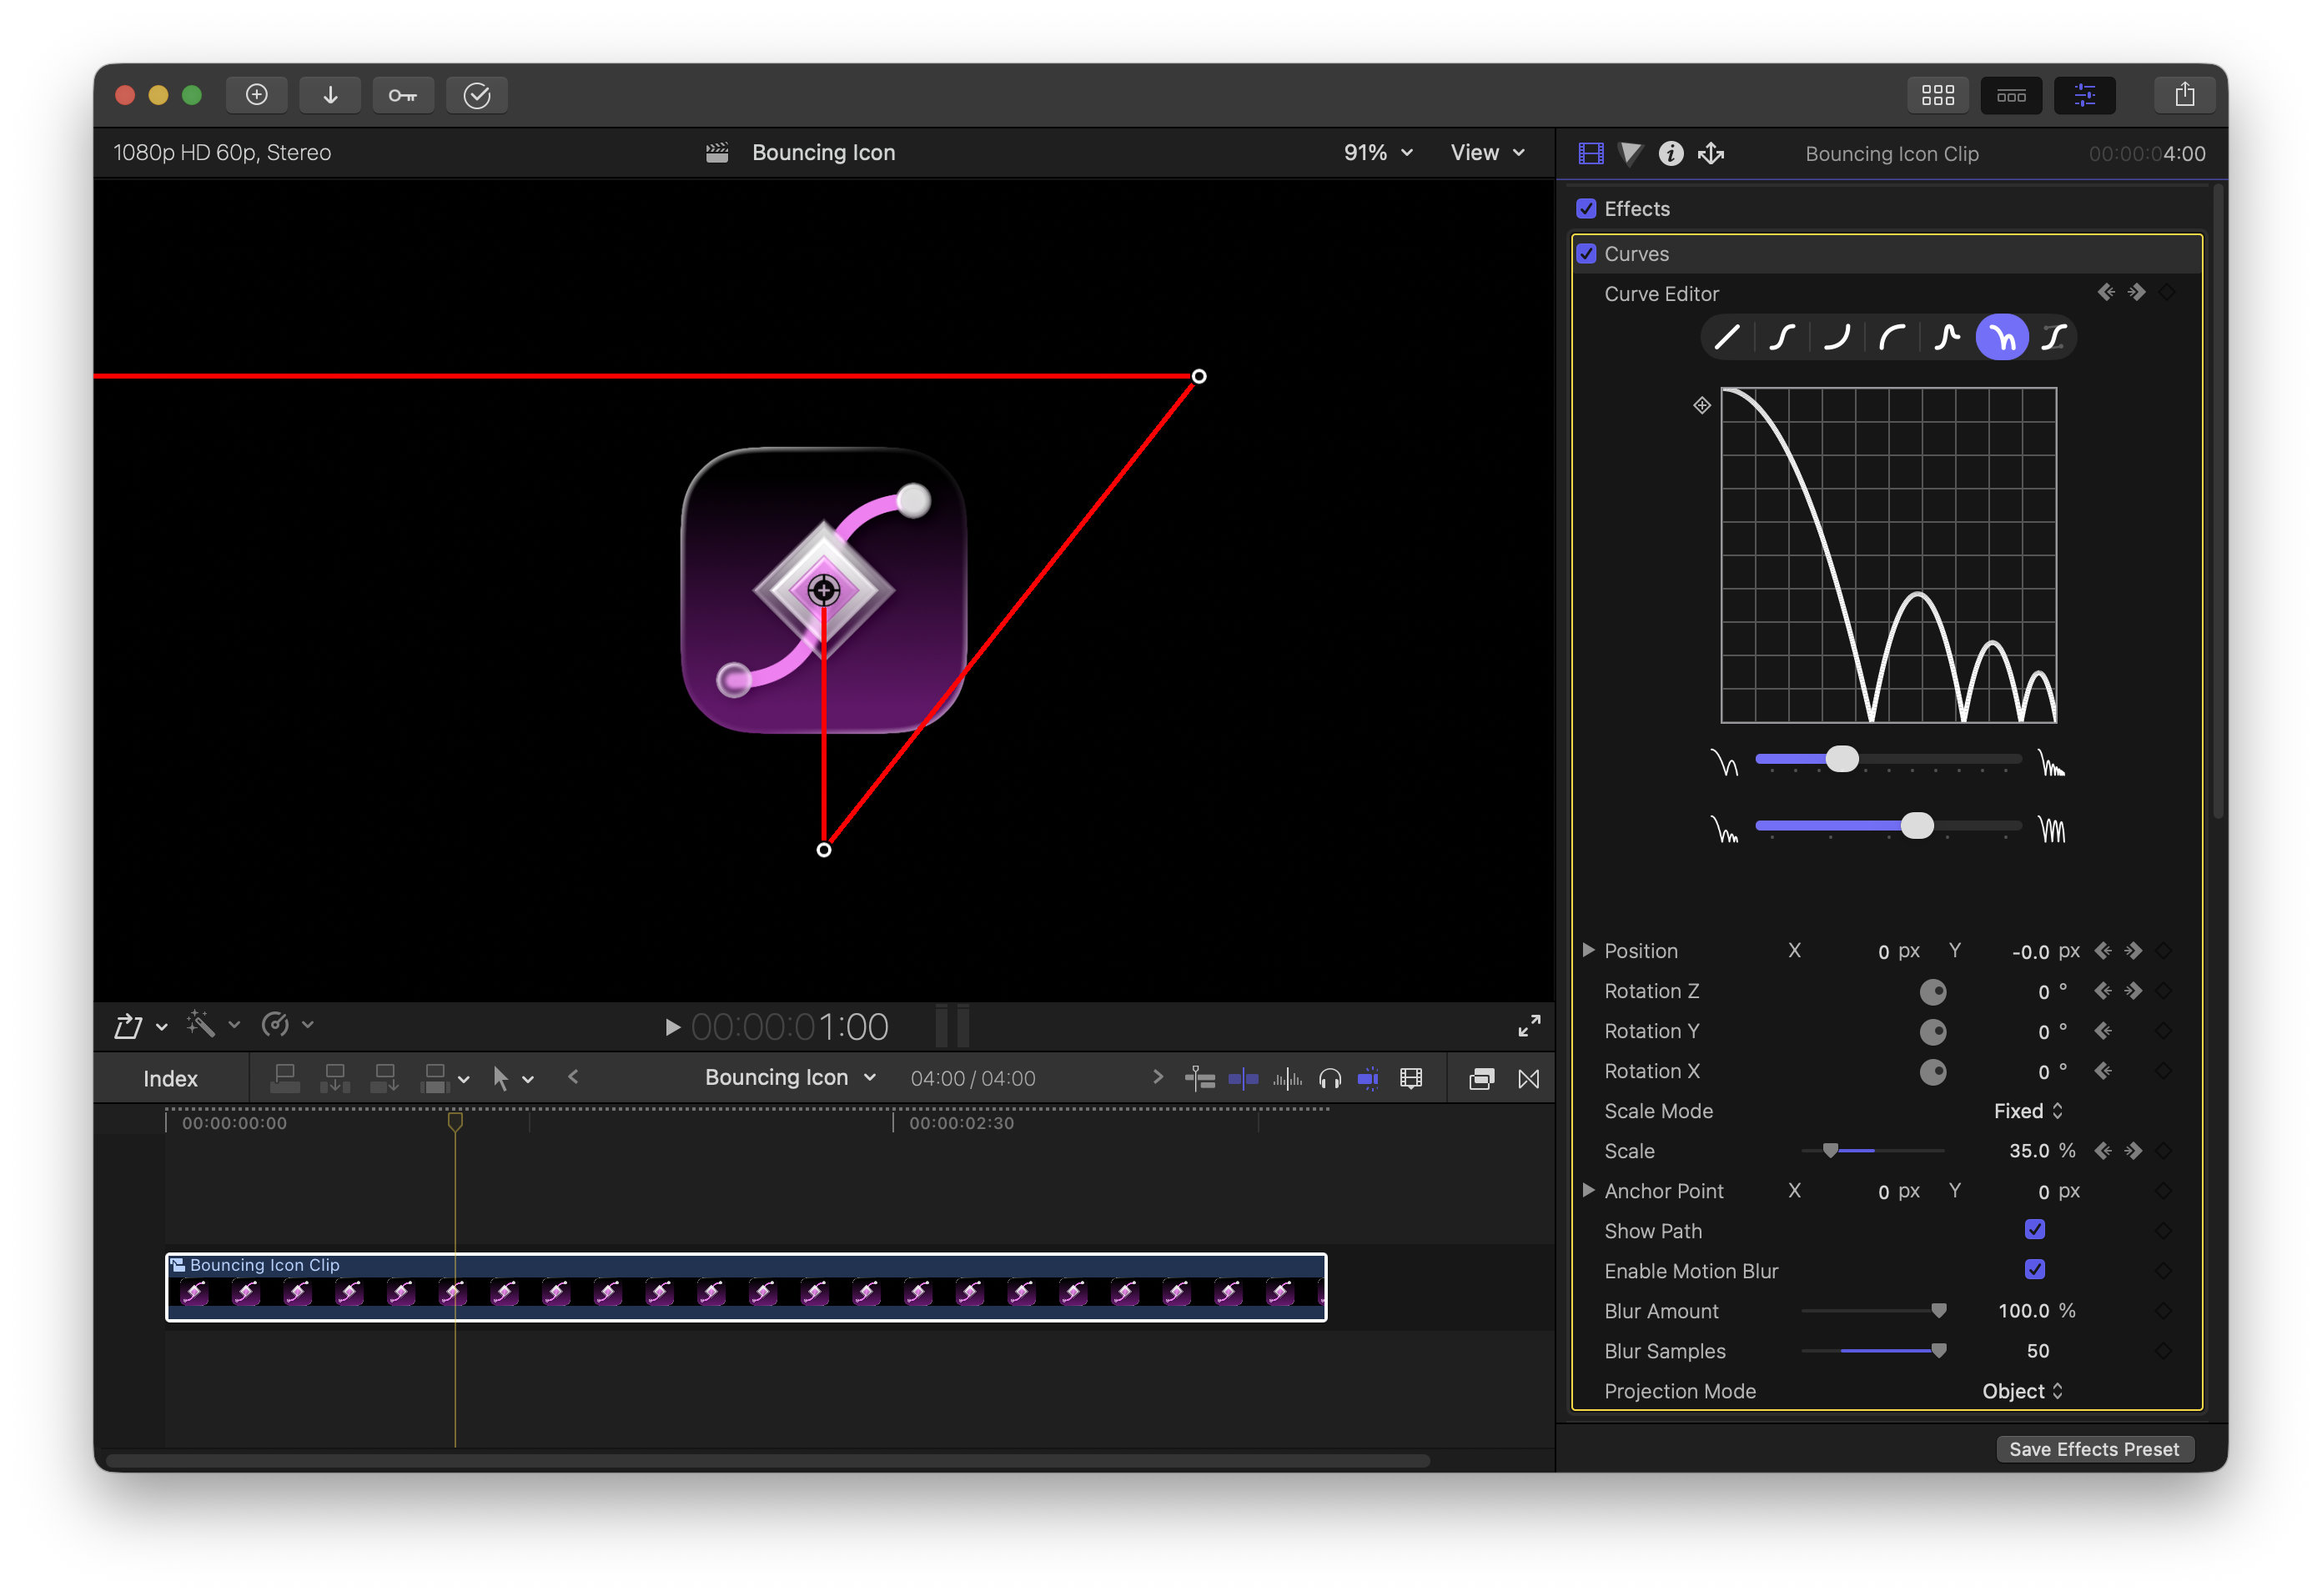
Add a position keyframe, move forward, and drag the clip down to the bottom of the screen to automatically create a second position keyframe:
You'll see a red line indicating the path of motion. If you play back the current project, the image pops in, then pops to the bottom:
Right now, since the path is following the Overshoot curve, the icon overshoots off screen. Instead, we want it to hit the ground and bounce up. To do that, we need to change the animation curve to Bounce.
Curves lets you change which animation curve is used at a given point in time without having to cut the clip and reapply Curves. Animation curve changes are accomplished with "Curve Keyframes".
The "Add Keyframe" button in the top left of the graph editor adds a curve keyframe:
Move to the first keyframe and add a curve keyframe. Then, move to the middle keyframe and switch the animation mode from Overshoot to Bounce. This automatically adds a curve keyframe that switches the curve at that point.
Now, the second path will use the Bounce curve instead of Overshoot.
Learn more about curve keyframes at Animation Curves.
Fly Up
Now that we know how to add keyframes and change the animation curve, adding more animations is simple!
We want to make the icon spin and fly up to the top of the screen. Move to the last keyframe we created (the end of the bounce), add a rotation Z keyframe, and switch the curve to "smooth".
Move forward in time, drag the icon to the top right of the screen, and set the Z rotation to -360 degrees. This will cause the object to flip and fly up to the top of the screen.
Swipe Out
We're almost done! The last effect we want is the object to accelerate off the screen to the left.
Move to the last keyframe so far and change the curve shape to Accelerate.
Adjust the backing slider (bottom one) to make the animation slide to the right a little bit before accelerating out. This adds a bit of a cartoonish bounce to the animation.
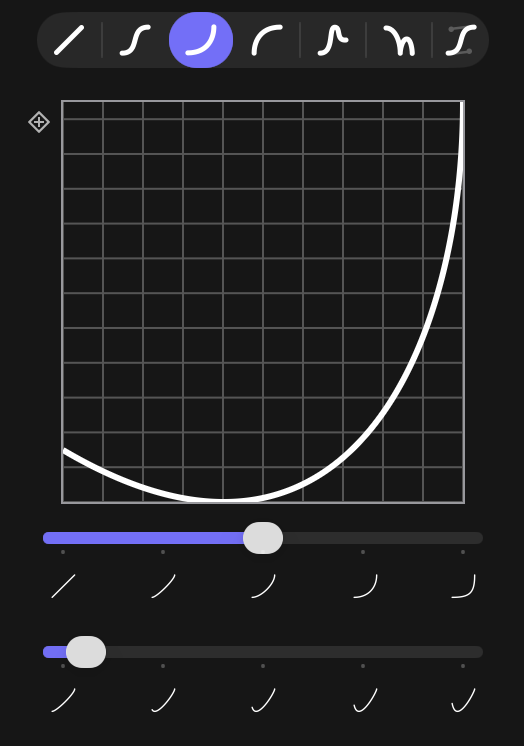
Read more about these sliders on Animation Curves.
Move forward in time, then drag the icon off the frame. Curves will automatically keep the new keyframe aligned to your previous keyframe by providing a yellow guideline while you are dragging the clip.
Conclusion
In this tutorial, we learned how to use Curves to quickly create a variety of general purpose animation effects. In the next tutorials, we'll look at using Curves to achieve more specific effects.